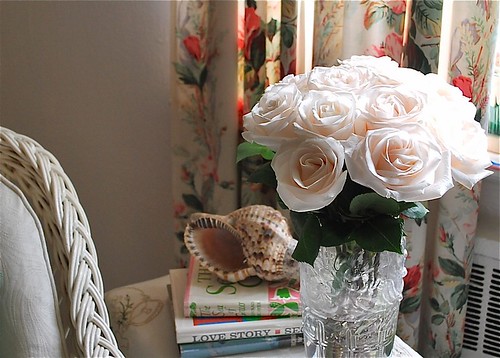
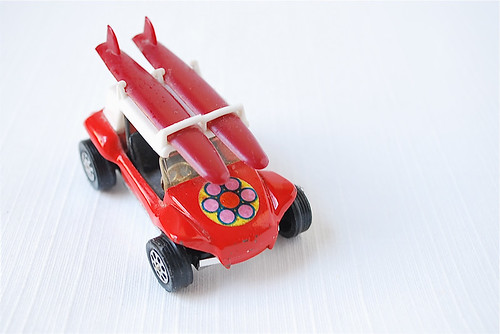
ISO 200 | Aperture f/5.6 | Shutter 1/80
Hi Everyone -
As previously mentioned, I'm taking a Digital Photography course at the
International Center of Photography. There are about 15 people in the class representing an interesting mix of backgrounds. Some studied film photography in college, others want to take better photos of their kids, some love to travel, and we all want to take our picture-taking to the next level. Our instructor,
Keisha Scarville, is a wonderful photographer and a deliberate, thoughtful teacher.
Over the coming weeks, my plan is to share some of the things I've learned, but there's no way I can replicate the course entirely. Although the focus is on dslr cameras, there are lessons to be learned regardless of camera-type. I really hope these posts will encourage you to experiment with your own camera settings. After all, you can always hit 'reset'.
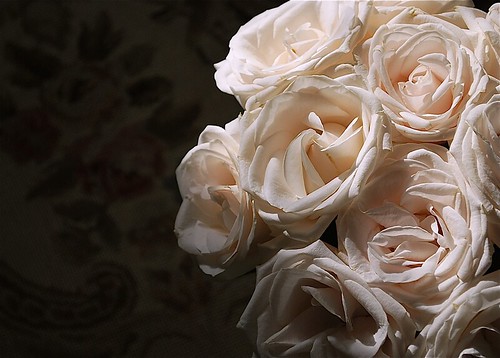
 ISO 200 | Aperture f/10 | Shutter 1/60
Controlling ExposureIn class we learned that a camera is basically a light tight box that allows a controlled amount of light in when you press the shutter to create a photo or exposure. A properly exposed photo is one that coordinates the proper combination of the following variables - ISO, aperture and shutter speed. Too much light leads to over-exposure (too bright) while too little leads to under-exposure (too dark). One of the biggest challenges I face with these settings is remembering what they all do individually and together. Finding the right balance makes me kind of feel like Goldilocks.
There are four elements to consider when taking a photo and I'm going to refer to them as the
Power of How to help remember the differences. I thought of this concept on the subway and hope it works for all of us.
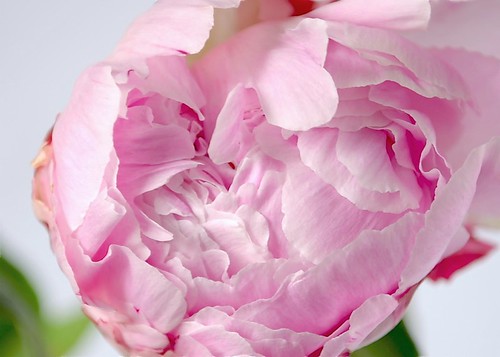
 ISO 200 | Aperture f/8.0 | Shutter 1/250Step 1 | ISO | How is your light?
How does the light look in your environment?
Are you outdoors? Is it sunny or cloudy? Is it night time? Are you indoors?
Based on the lighting, your first step will be to set your ISO, which is how the sensor in your camera responds to light. The higher the number the more receptivity - light allowed into the camera. The ISO can be adjusted on any camera from a point & shoot to a dslr. It is the one setting you should always control even if you set it at 100, which is probably the default for most cameras. Here are some guidelines -
- 50-200 : best in bright light, outdoors, partly cloudy
- 400-800 : low light, late afternoon, heavy overcast, indoors
- 1600-3200 : very little light, night time, indoors
The higher speeds do let in more light, but will sacrifice image quality resulting in grain or noise in the photo. At this point, I prefer a clear image, so I'm very conservative with my choice and always use a tripod for the higher settings. ISO is used in film photography, so it's a bit familiar. In the following weeks, I'll tell you about -
Step 2 | Aperture | How is the focus?
Do you want a shallow or long depth of field?
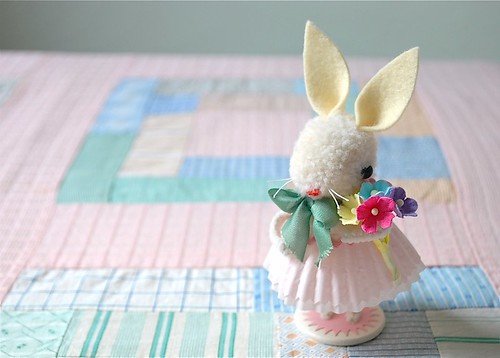
 ISO 200 | Aperture f/7.1 | Shutter 1/200
Step 3 |Shutter Speed | How long is light allowed into the camera?
Do you want to blur or freeze motion?
 ISO 200 |Aperture f/5.6 |Shutter 1/200
Step 4 | Light Meter | How is the exposure to be adjusted?
Will your photo be under or over-exposed, or just right?
 ISO 200 | Aperture f/5.6 | Shutter 1/200
I would definitely encourage you to try the various automatic settings on your cameras for landscape, portrait, sports, etc. just to get used to different ways of controlling the light. Overall, there's a lot to learn and plenty of crummy photos to be taken ;). Although I'm hopeful, I don't expect to take any great photos during the course as it may take a while for the new knowledge to find a comfortable home in my brain.
Let me know if you have any questions. I'll try to answer them. If I've gotten something wrong, let me know and I'll correct it.
xo, Cindy
PS Happy Birthday to my
Brother and
Happy Earth Day!
Source :
Keisha Scarville